

-
Welcome to Tacoma World!
You are currently viewing as a guest! To get full-access, you need to register for a FREE account.
As a registered member, you’ll be able to:- Participate in all Tacoma discussion topics
- Communicate privately with other Tacoma owners from around the world
- Post your own photos in our Members Gallery
- Access all special features of the site
 Midland Ghost Antenna Through Car Wash
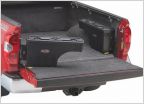 Correct Tool Box Size?
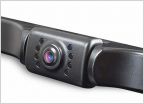 Aftermarket Backup Camera Intermittent, Now Not Working At All?
 Shutter in gear
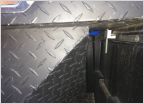 Truck box bed rail mount?
 Roof Drip Molding... Necessary?
How to change the color of your stock radio by "slvrAZtaco"
Discussion in '2nd Gen. Tacomas (2005-2015)' started by toku58, Jun 16, 2009.


