

-
Welcome to Tacoma World!
You are currently viewing as a guest! To get full-access, you need to register for a FREE account.
As a registered member, you’ll be able to:- Participate in all Tacoma discussion topics
- Communicate privately with other Tacoma owners from around the world
- Post your own photos in our Members Gallery
- Access all special features of the site
 Carrying MTBs w/trifold tonneau cover 2017 Limited 5ft bed
 BakFlip G2 Tonneau cover??
 Leer Cap Connections to Bed
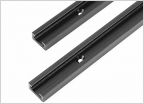 Using T-Track for a Topper Rack
 Leaking snug top!!!
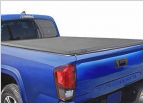
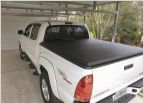 Tyger TG-BC3T1030 Tri-Fold Tonneau Cover
How to: DIY Wedge Camper
Discussion in 'Tonneau Covers, Caps and Shells' started by Ripcord, Apr 15, 2019.
Page 75 of 184
Page 75 of 184
Products Discussed in


