

-
Welcome to Tacoma World!
You are currently viewing as a guest! To get full-access, you need to register for a FREE account.
As a registered member, you’ll be able to:- Participate in all Tacoma discussion topics
- Communicate privately with other Tacoma owners from around the world
- Post your own photos in our Members Gallery
- Access all special features of the site
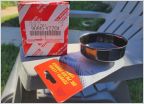 Good Oil Filter Wrench for 2.7L 2TR-FE
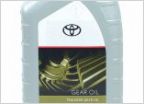 Transfer case fluid
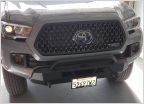 Body Armor 4X4 Hiline
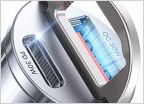 3rd gen wireless charging
 Remote Tailgate Lock - TRD OR '22 DCSB
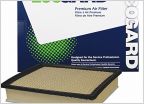 Is this a engine air filter anyone has used? Any disposable air filter recommendations in general?
HOW TO: Install Powered Seats in 2016-2019 Tacoma
Discussion in '3rd Gen. Tacomas (2016-2023)' started by translucent, Sep 7, 2025 at 2:15 PM.

