

-
Welcome to Tacoma World!
You are currently viewing as a guest! To get full-access, you need to register for a FREE account.
As a registered member, you’ll be able to:- Participate in all Tacoma discussion topics
- Communicate privately with other Tacoma owners from around the world
- Post your own photos in our Members Gallery
- Access all special features of the site
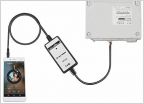 Aux input mods
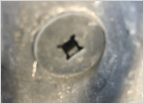 How do you take these rivets off
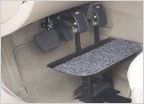 Short people driving manual tacoma
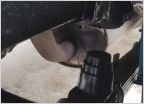 SumoSprings Offroad Mod
 Rattling Front Brake
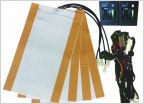 How I wired my aftermarket seat heaters in my 2nd gen Tacoma, lots of pictures.
How to: LED Light bars in turn signal location on ARB Deluxe Bull Bar
Discussion in '2nd Gen. Tacomas (2005-2015)' started by 2DaMtns, Jul 4, 2016.


