

-
Welcome to Tacoma World!
You are currently viewing as a guest! To get full-access, you need to register for a FREE account.
As a registered member, you’ll be able to:- Participate in all Tacoma discussion topics
- Communicate privately with other Tacoma owners from around the world
- Post your own photos in our Members Gallery
- Access all special features of the site
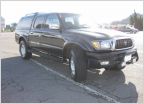 Show me your highway terrains
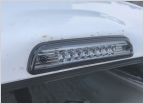 Third Brake Light
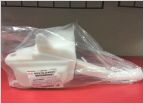 Windshield washer fluid reservoir
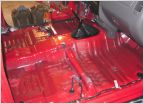 Anyone ever remove the interior from the back???
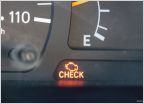 P2238 after disconnecting battery
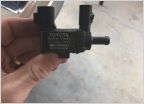 Looking for a Vacuum solenoid switch
How To: Replace Upper Ball Joint
Discussion in '1st Gen. Tacomas (1995-2004)' started by curtis998x2, May 29, 2016.
Page 1 of 2
Page 1 of 2


