

-
Welcome to Tacoma World!
You are currently viewing as a guest! To get full-access, you need to register for a FREE account.
As a registered member, you’ll be able to:- Participate in all Tacoma discussion topics
- Communicate privately with other Tacoma owners from around the world
- Post your own photos in our Members Gallery
- Access all special features of the site
 Arb twin air compressor under bed mount
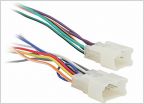 Gauge wire used for stock radio?
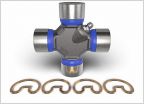 U-joint replacement for 1998 4wd tacoma
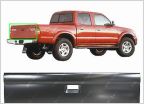 Need tailgate shell. Ebay or Amazon?
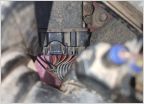 2000 toyota tacoma wont start after collison
 Oil Filter
Inner tie rod kicking my ass - ideas?
Discussion in '1st Gen. Tacomas (1995-2004)' started by Moco, Oct 31, 2013.


