

-
Welcome to Tacoma World!
You are currently viewing as a guest! To get full-access, you need to register for a FREE account.
As a registered member, you’ll be able to:- Participate in all Tacoma discussion topics
- Communicate privately with other Tacoma owners from around the world
- Post your own photos in our Members Gallery
- Access all special features of the site
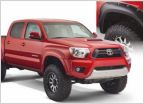 Bushwacker Fender Flares
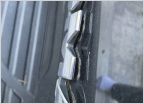 Emblems Falling Off Tailgate
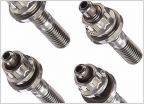 Exhaust Question, 2010 Tacoma v6
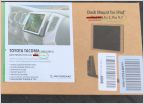 Reviewing the Scosche iPad Dash Mount Kit... Pretty sweet.
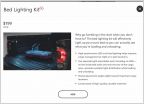 3rd Gen OEM Bed Lighting Kit on a 2nd Gen?
 Fan only works on High AC/Heater
is there a diy for changing rear brake shoes
Discussion in '2nd Gen. Tacomas (2005-2015)' started by JakeMan, Sep 8, 2010.
Page 2 of 3
Page 2 of 3


