-
Welcome to Tacoma World!
You are currently viewing as a guest! To get full-access, you need to register for a FREE account.
As a registered member, you’ll be able to:- Participate in all Tacoma discussion topics
- Communicate privately with other Tacoma owners from around the world
- Post your own photos in our Members Gallery
- Access all special features of the site
 Battery replacement/ keep settings
 Bed Rail Can Holder
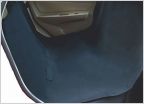 Back Seat Storage Solutions
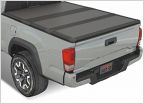 Kikito Hard Folding Bed Cover
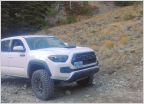 CBI T3 License plate???
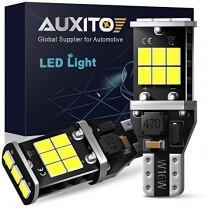
LED Lighting Conversion
Discussion in '3rd Gen. Tacomas (2016-2023)' started by chan2565, Jun 14, 2016.
Page 143 of 210
Page 143 of 210
Products Discussed in