

-
Welcome to Tacoma World!
You are currently viewing as a guest! To get full-access, you need to register for a FREE account.
As a registered member, you’ll be able to:- Participate in all Tacoma discussion topics
- Communicate privately with other Tacoma owners from around the world
- Post your own photos in our Members Gallery
- Access all special features of the site
 Any electronics geniuses on here?
 Where to get a good machete?
 Playtex disposable liner
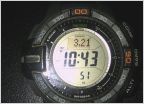 Outdoor Watch
 Police Scanners
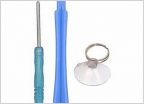 Does anyone have a Pentalobe screwdriver size TS1?
My Die Cast Case Project I Built
Discussion in 'Off-Topic Discussion' started by monte1985, Aug 25, 2010.


