

-
Welcome to Tacoma World!
You are currently viewing as a guest! To get full-access, you need to register for a FREE account.
As a registered member, you’ll be able to:- Participate in all Tacoma discussion topics
- Communicate privately with other Tacoma owners from around the world
- Post your own photos in our Members Gallery
- Access all special features of the site
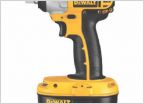 Cordless impact wrench purchase
 The Perfect Day
 Need ideas for a battery switch on a race kart
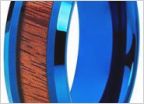 Wood and metal wedding bands?
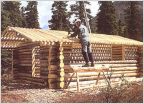 Alone in the Wilderness
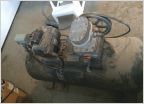 Picked up an old air compressor and need help
My Need For Speed
Discussion in 'Off-Topic Discussion' started by ToyotaTacoma4Ever, Jun 26, 2013.
Page 5 of 6
Page 5 of 6


