

-
Welcome to Tacoma World!
You are currently viewing as a guest! To get full-access, you need to register for a FREE account.
As a registered member, you’ll be able to:- Participate in all Tacoma discussion topics
- Communicate privately with other Tacoma owners from around the world
- Post your own photos in our Members Gallery
- Access all special features of the site
Quick Links: Whats the one power/hand tool you could not do w/out?
 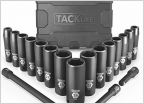 What're you people using for a socket set?
 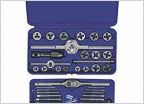 Large, Fine Thread Metric Tap and Die Set Recommendations? Drilling through 18/8 70k psi fasteners
  High quality efficient home lighting using LEDs, HIRs and Halogens
 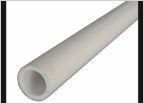 Shop/Garage Air - ABS Piping
My Ongoing Remodel Thread or possibly "My Descent into a Hellish Nightmare"
Discussion in 'Garage / Workshop' started by JaSkynyrd, Jun 28, 2011.
Page 4 of 5
Page 4 of 5


