

-
Welcome to Tacoma World!
You are currently viewing as a guest! To get full-access, you need to register for a FREE account.
As a registered member, you’ll be able to:- Participate in all Tacoma discussion topics
- Communicate privately with other Tacoma owners from around the world
- Post your own photos in our Members Gallery
- Access all special features of the site
 Manifold Cracked!
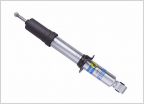 Suspension questions
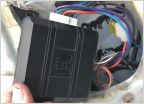 Replaced window motor on my 99 prerunner still having issues
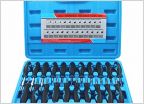 1st Gen Wire Harness Depinning Tool for Sumitomo Connectors
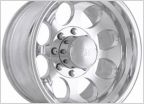 Can't find any wheels!!!!!!!!
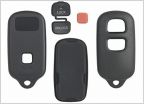 New key fob
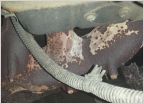
My rear frame tail section repair/re-inforcement
Discussion in '1st Gen. Tacomas (1995-2004)' started by CdnSldr, Aug 7, 2011.


