

-
Welcome to Tacoma World!
You are currently viewing as a guest! To get full-access, you need to register for a FREE account.
As a registered member, you’ll be able to:- Participate in all Tacoma discussion topics
- Communicate privately with other Tacoma owners from around the world
- Post your own photos in our Members Gallery
- Access all special features of the site
 2011 Tacoma 4x4 carrier bearing
 Rear Diff. Fluid Change
 Ujoint replacement question
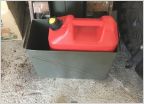 Gas Cans Rotopax vs. Jerry Cans
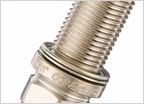 2006 Tacoma ignition coil problem-condensation in oil cap
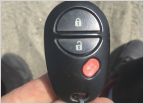 How do I turn off the Unlock/Lock Horn Beep
Need assistance with Toytec Coil Over adjustment
Discussion in '2nd Gen. Tacomas (2005-2015)' started by Molon Labe, Dec 3, 2013.


