

-
Welcome to Tacoma World!
You are currently viewing as a guest! To get full-access, you need to register for a FREE account.
As a registered member, you’ll be able to:- Participate in all Tacoma discussion topics
- Communicate privately with other Tacoma owners from around the world
- Post your own photos in our Members Gallery
- Access all special features of the site
 Am I doing something wrong
 Difference in Center Console Height?
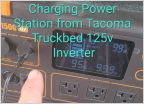 Using Tacoma Truckbed inverter to supply a power station, despite Modified Sine Wave AC power
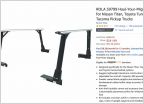 Modifying Rola Ladder Racks
 Tire Help
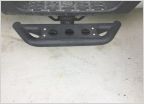 Hitch step/bumper for rear end protection
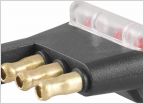
Need Help Wiring Raptor Lights "check charge system"
Discussion in '3rd Gen. Tacomas (2016-2023)' started by sneakykiday28, Mar 4, 2019.


