

-
Welcome to Tacoma World!
You are currently viewing as a guest! To get full-access, you need to register for a FREE account.
As a registered member, you’ll be able to:- Participate in all Tacoma discussion topics
- Communicate privately with other Tacoma owners from around the world
- Post your own photos in our Members Gallery
- Access all special features of the site
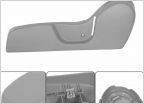 Seat Trim Panel Bezel
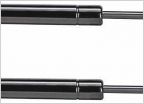 Trying to find 10” 24lb gas strut/shocks for camper
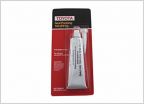 Dealer prices way to high
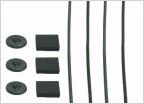 What the heck is this?
 Cheap relatable upgrades
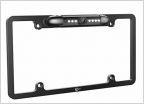 Backup Camera Recommendations
Ok. So Here We Go...
Discussion in '1st Gen. Tacomas (1995-2004)' started by Ryan_3TacosIn, Apr 13, 2017.
Page 3 of 5
Page 3 of 5
