

-
Welcome to Tacoma World!
You are currently viewing as a guest! To get full-access, you need to register for a FREE account.
As a registered member, you’ll be able to:- Participate in all Tacoma discussion topics
- Communicate privately with other Tacoma owners from around the world
- Post your own photos in our Members Gallery
- Access all special features of the site
 Has anyone done a 2 wheel low conversion If so how did you?
 Drive Shafts: Two Types of Grease?
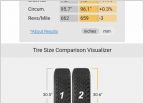 Help With Getting New Tires
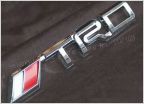 OEM TRD emblem on black truck. . . question
 Strange noise/oil fixes, but where is the oil going???
 Wheel bearing seal and CV dust seal install TIP
Oyster Taco's Build Thread: No Special Skills, Budget, Problem Solver Camper Build
Discussion in '2nd Gen. Tacomas (2005-2015)' started by Oyster Taco, Mar 20, 2021.


