

-
Welcome to Tacoma World!
You are currently viewing as a guest! To get full-access, you need to register for a FREE account.
As a registered member, you’ll be able to:- Participate in all Tacoma discussion topics
- Communicate privately with other Tacoma owners from around the world
- Post your own photos in our Members Gallery
- Access all special features of the site
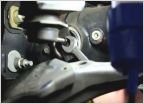 Shop recommendations for CV axle bushing install
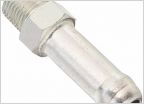 Diff Breather Gangbang
 Arizona Peace Trail!!!
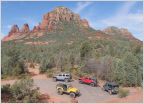 Trail Runs
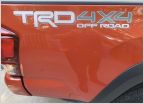 Looking for recommendations on bed decal removal / install
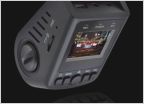 What dashcam are you running?
Plug and play compass temp mirror kit for 05-08 Tacoma's install & review.
Discussion in 'Arizona' started by DukesTaco, Jul 6, 2016.


