

-
Welcome to Tacoma World!
You are currently viewing as a guest! To get full-access, you need to register for a FREE account.
As a registered member, you’ll be able to:- Participate in all Tacoma discussion topics
- Communicate privately with other Tacoma owners from around the world
- Post your own photos in our Members Gallery
- Access all special features of the site
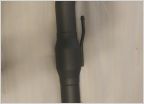 Aftermarket Y pipe
 2nd Gen. Tacoma exhaust - will it fit any 2005 - 2015 Tacoma?
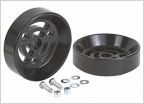 Rear susp mod
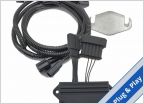 SAIS and Steering Angle Sensor Issue - 2009 Tacoma 4x2.7 2WD
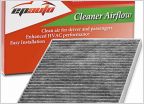 Where do you buy your oem air filters from?
Polyurethane Radiator Support Mounts (Cab Also)
Discussion in '2nd Gen. Tacomas (2005-2015)' started by 12TRDTacoma, Feb 1, 2015.
Page 11 of 78
Page 11 of 78

