-
Welcome to Tacoma World!
You are currently viewing as a guest! To get full-access, you need to register for a FREE account.
As a registered member, you’ll be able to:- Participate in all Tacoma discussion topics
- Communicate privately with other Tacoma owners from around the world
- Post your own photos in our Members Gallery
- Access all special features of the site
 OEM oil filter possible mix up
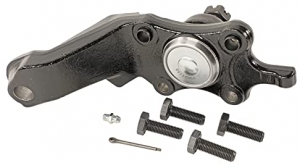
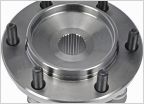 Pre-assembled wheel hubs
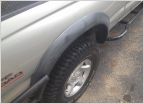 Bed-liner fender flares?
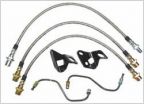 What performance rotors and pads to you run with stock calipers?
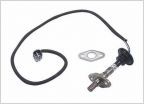 Oxygen sensor failure
[Solved] Problem Removing Driver Door Panel on 1998 Tacoma Limited
Discussion in '1st Gen. Tacomas (1995-2004)' started by skeezix, Feb 25, 2024.