

-
Welcome to Tacoma World!
You are currently viewing as a guest! To get full-access, you need to register for a FREE account.
As a registered member, you’ll be able to:- Participate in all Tacoma discussion topics
- Communicate privately with other Tacoma owners from around the world
- Post your own photos in our Members Gallery
- Access all special features of the site
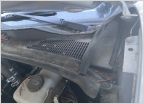 Oil filter cover broke
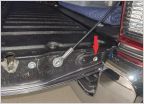 Looking for screw size for tailgate
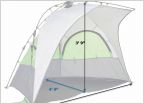 Best Canopys for the beach/outdoors? Beach Setup pics
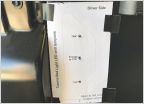 Adding factory bed lights?
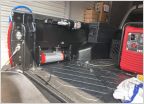 Mounted On-Board Air Systems
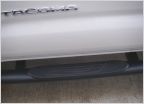 Running board advice
Rampage Products Led Tail-Light W Back Up Install on 2017 BBP
Discussion in '3rd Gen. Tacomas (2016-2023)' started by Sand Shark, Mar 20, 2017.


