

-
Welcome to Tacoma World!
You are currently viewing as a guest! To get full-access, you need to register for a FREE account.
As a registered member, you’ll be able to:- Participate in all Tacoma discussion topics
- Communicate privately with other Tacoma owners from around the world
- Post your own photos in our Members Gallery
- Access all special features of the site
 Headlight upgrade recommendations
 Amazon Motor Oil is a thing that exists?
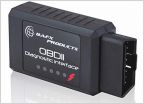 Best Electronic Monitoring System
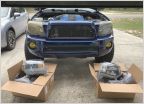
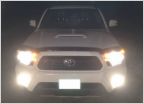 2012 hood protector installed pics
 Replacing Second Gen Decals
 Upper ball joint castle nut
Re-painting painted badges???
Discussion in '2nd Gen. Tacomas (2005-2015)' started by Robocop, May 17, 2009.


