

-
Welcome to Tacoma World!
You are currently viewing as a guest! To get full-access, you need to register for a FREE account.
As a registered member, you’ll be able to:- Participate in all Tacoma discussion topics
- Communicate privately with other Tacoma owners from around the world
- Post your own photos in our Members Gallery
- Access all special features of the site
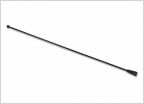 Replacement antenna mast
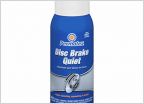 Disc brakes making the most incredibly loud metal-on-metal shriek
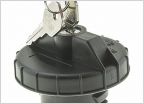 Locking gas cap causing check engine light to come on
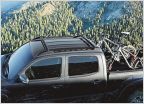 OEM Roof Rack parts number question...
 Wheel Question
 Bilstein 5100 set at 2.5, rear aal 1.5 3 leaf progressive W NO TSB 2ndgen
Removing compressor--one bolt to go....
Discussion in '2nd Gen. Tacomas (2005-2015)' started by Torquemado, Aug 7, 2014.
Page 1 of 2
Page 1 of 2


