

-
Welcome to Tacoma World!
You are currently viewing as a guest! To get full-access, you need to register for a FREE account.
As a registered member, you’ll be able to:- Participate in all Tacoma discussion topics
- Communicate privately with other Tacoma owners from around the world
- Post your own photos in our Members Gallery
- Access all special features of the site
 A Question About Engine Gaskets and other stuff
 Some Jackass...
 DIY: On Board Co2
 Did I Order the Wrong Coils?
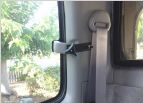 DIY rear pop out window locking mechanism.
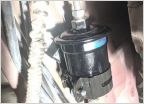 Fuel Filter Replacement
Replacing o2 sensor fail
Discussion in '1st Gen. Tacomas (1995-2004)' started by Kotayota, Sep 19, 2015.
Page 1 of 2
Page 1 of 2


