

-
Welcome to Tacoma World!
You are currently viewing as a guest! To get full-access, you need to register for a FREE account.
As a registered member, you’ll be able to:- Participate in all Tacoma discussion topics
- Communicate privately with other Tacoma owners from around the world
- Post your own photos in our Members Gallery
- Access all special features of the site
 Anzo USA LED Truck Bed Lights install
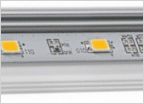 Small LED Module
 Problem!!
 Fuse for dimmer
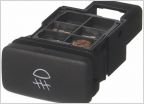
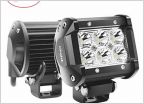 Reverse lighting
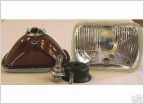 Best 7x6 headlight housing for Taco 97"?
Retrofit Projector Headlight Install and Review
Discussion in 'Lighting' started by loudboy, Aug 11, 2015.


