-
Welcome to Tacoma World!
You are currently viewing as a guest! To get full-access, you need to register for a FREE account.
As a registered member, you’ll be able to:- Participate in all Tacoma discussion topics
- Communicate privately with other Tacoma owners from around the world
- Post your own photos in our Members Gallery
- Access all special features of the site
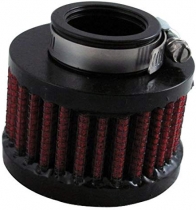
 Has anyone mounted one of these in place of their cigarette lighter?
 Anyone knowledgeable on “balance shafts”?
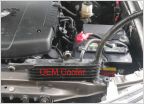 Upgrade to a Derale Transmission Cooler!
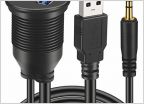
 2014 backup cameras non OEM replacement advice
 Just bought an passport 9500ix radar detector
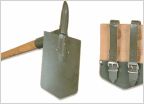 Axes and Shovels
Ride Rite Air Bag Install Trick
Discussion in '2nd Gen. Tacomas (2005-2015)' started by RKCRUZA, Jul 12, 2015.
Page 1 of 2
Page 1 of 2