

-
Welcome to Tacoma World!
You are currently viewing as a guest! To get full-access, you need to register for a FREE account.
As a registered member, you’ll be able to:- Participate in all Tacoma discussion topics
- Communicate privately with other Tacoma owners from around the world
- Post your own photos in our Members Gallery
- Access all special features of the site
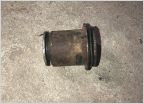 How do you remove these lower control arm bushing things?
 T100 oil pan conversion for SAS..please help!
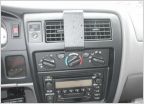 Tighten center vents?
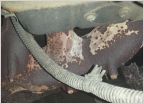 Manifold Cracked!
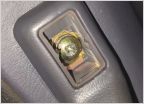 Any suggestions on getting these JIS screws out?
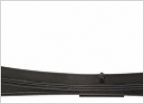 Finishing up OEM leaf spring replacement - stupid question
Rust repair project (and a buch of other stuff)- my build thread?
Discussion in '1st Gen. Tacomas (1995-2004)' started by Jakuku Pahwheenis, Jun 13, 2022.
Page 5 of 8
Page 5 of 8


