

-
Welcome to Tacoma World!
You are currently viewing as a guest! To get full-access, you need to register for a FREE account.
As a registered member, you’ll be able to:- Participate in all Tacoma discussion topics
- Communicate privately with other Tacoma owners from around the world
- Post your own photos in our Members Gallery
- Access all special features of the site
 ARB OME Springs *NEW*
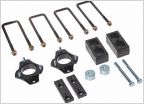 SOLD- ReadyLift
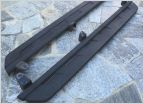 FS 2016 Double Cab cast aluminum steps - NorCal
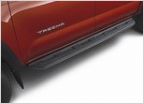 WTB: Running boards or nerf bars
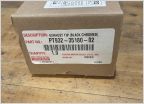 Sold !!! Tacoma Black Chrome Exhaust Tip
 WTB: Grill Bezel Black
(SOLD) Full Plug-and-Play (Really!) Anytime Reverse Camera Kit
Discussion in '3rd Gen Tacoma Parts Marketplace (2016-2023)' started by kmorgan3, Dec 3, 2020.
- Thread Status:
- Not open for further replies.
- Thread Status:
- Not open for further replies.


