

-
Welcome to Tacoma World!
You are currently viewing as a guest! To get full-access, you need to register for a FREE account.
As a registered member, you’ll be able to:- Participate in all Tacoma discussion topics
- Communicate privately with other Tacoma owners from around the world
- Post your own photos in our Members Gallery
- Access all special features of the site
 Will a snorkel fit and which one?
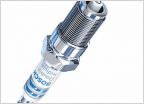 Changing spark plugs on my 2008 for the first time, help.
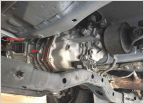 Drain/Fill plug on 09 2.7L 5 speed Manual?
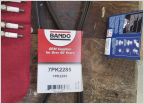 2012 spark plug & serpentine belt change out
 2.7 Liter, Oil & Filter Question
 Possible to get a decent winch w/o new bumper?
Spark PLugs!
Discussion in '4 Cylinder' started by Noshownate, Apr 23, 2011.
Page 2 of 2
Page 2 of 2


