

-
Welcome to Tacoma World!
You are currently viewing as a guest! To get full-access, you need to register for a FREE account.
As a registered member, you’ll be able to:- Participate in all Tacoma discussion topics
- Communicate privately with other Tacoma owners from around the world
- Post your own photos in our Members Gallery
- Access all special features of the site
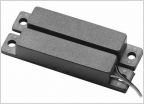 Rear slide window security
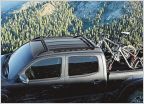 Is 3rd gen OEM roof rack the same as 2nd gen?
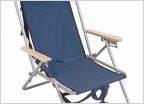 Best Camping Chair
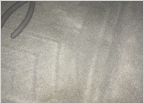 Where can I find these clips or DIY clips
 Camper shell extensions for camping
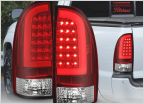 Tail light Lens Replacement
SPC UCA numbers help please
Discussion in '2nd Gen. Tacomas (2005-2015)' started by 12taco12, Nov 18, 2019.
Page 1 of 2
Page 1 of 2


