

-
Welcome to Tacoma World!
You are currently viewing as a guest! To get full-access, you need to register for a FREE account.
As a registered member, you’ll be able to:- Participate in all Tacoma discussion topics
- Communicate privately with other Tacoma owners from around the world
- Post your own photos in our Members Gallery
- Access all special features of the site
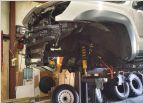 Steering rack bolt help
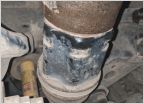 Help - New Leak
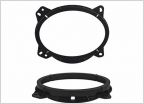 2013 TRD Sport Dual cab punctured front Dr side woofer changing regulator
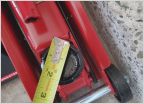 Floor Jack Saddle
 Hey quick question. Thinking of doing a headlight mod.
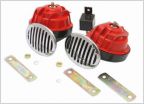 I need more horns!
Squishy Brake Pedal - Fixed!!
Discussion in '2nd Gen. Tacomas (2005-2015)' started by brandob9, Nov 18, 2009.
Page 4 of 4
Page 4 of 4


