-
Welcome to Tacoma World!
You are currently viewing as a guest! To get full-access, you need to register for a FREE account.
As a registered member, you’ll be able to:- Participate in all Tacoma discussion topics
- Communicate privately with other Tacoma owners from around the world
- Post your own photos in our Members Gallery
- Access all special features of the site
 Can i add a tailgate lock?
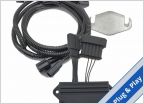 SAIS and Steering Angle Sensor Issue - 2009 Tacoma 4x2.7 2WD
 Cruise Control Install Help
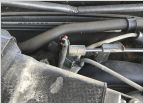 Could you please identify this connector?
 Grease points
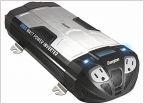 Inverter
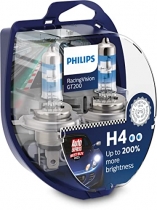
The ultimate headlight upgrade H4 (not LED or HID)
Discussion in '2nd Gen. Tacomas (2005-2015)' started by crashnburn80, Oct 27, 2015.
Page 105 of 279
Page 105 of 279
Products Discussed in