

-
Welcome to Tacoma World!
You are currently viewing as a guest! To get full-access, you need to register for a FREE account.
As a registered member, you’ll be able to:- Participate in all Tacoma discussion topics
- Communicate privately with other Tacoma owners from around the world
- Post your own photos in our Members Gallery
- Access all special features of the site
 Help Me Mount Offroad Lights
 Pissed off at bushwacker !!
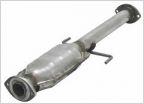 P0420 AGAIN
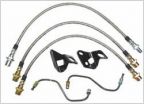 What performance rotors and pads to you run with stock calipers?
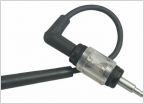 Was this a reasonable charge to diagnose/replace ignition coil?
 Need help with suspension on my dad's old taco
Total Chaos Shock Relocation
Discussion in '1st Gen. Tacomas (1995-2004)' started by frenchee, Jan 11, 2021.
Page 1 of 2
Page 1 of 2

