

-
Welcome to Tacoma World!
You are currently viewing as a guest! To get full-access, you need to register for a FREE account.
As a registered member, you’ll be able to:- Participate in all Tacoma discussion topics
- Communicate privately with other Tacoma owners from around the world
- Post your own photos in our Members Gallery
- Access all special features of the site
Quick Links: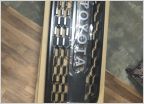 Oem trd pro grill
 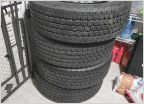 Random 2020 OR Stuff (Wheels, Bed Sep, Steps, Awning) NOVA/VA
 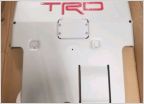 ISO: Tacoma TRD PRO skid SOLD!!!! FS: Spidertrax Wheel Spacers 1.25" (Black) Brand new never been used!!!
  (SOLD) Fox 2.0 Performance Series IFP Coilovers and Rear Shocks (Virginia)
  Sold Tacoma - Free and cheap stuff for sale! Some TRD PRO & MESO parts too - St Pete, FL
VLEDS Plug-and-Play Bed Light Kit
Discussion in '3rd Gen Tacoma Parts Marketplace (2016-2023)' started by kmorgan3, Oct 16, 2023.
Page 5 of 7
Page 5 of 7

