

-
Welcome to Tacoma World!
You are currently viewing as a guest! To get full-access, you need to register for a FREE account.
As a registered member, you’ll be able to:- Participate in all Tacoma discussion topics
- Communicate privately with other Tacoma owners from around the world
- Post your own photos in our Members Gallery
- Access all special features of the site
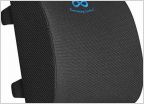 "Lumbar support" for passenger side?
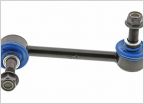 Mevotech MS86849 Sway Bar Links any good?
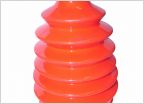 CV Boot, What's Best?
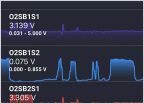 OBD Scanner O2 sensor questions (P0420)
 Strut mount kit
 Recommend me a dashcam for my Taco
DIY- Front Wheel Bearings
Discussion in '2nd Gen. Tacomas (2005-2015)' started by ST3VE, Sep 6, 2011.
Page 5 of 5
Page 5 of 5


