-
Welcome to Tacoma World!
You are currently viewing as a guest! To get full-access, you need to register for a FREE account.
As a registered member, you’ll be able to:- Participate in all Tacoma discussion topics
- Communicate privately with other Tacoma owners from around the world
- Post your own photos in our Members Gallery
- Access all special features of the site
 Door handle death
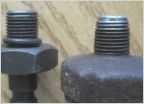 Re-threading oil pressure sender on 3RZ-FE
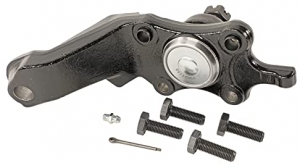
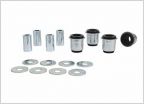 LCA Bushing time
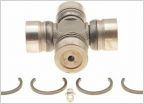 Need help finding the right U joints and correct amount.
 Thinking about adding some LED lights for front, rear, and bed lighting.
how to replace front rotors and pads
Discussion in '1st Gen. Tacomas (1995-2004)' started by okii, Jul 5, 2016.