

-
Welcome to Tacoma World!
You are currently viewing as a guest! To get full-access, you need to register for a FREE account.
As a registered member, you’ll be able to:- Participate in all Tacoma discussion topics
- Communicate privately with other Tacoma owners from around the world
- Post your own photos in our Members Gallery
- Access all special features of the site
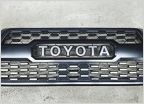 Iso a 2016 tacoma trd pro grill insert
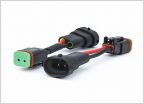 Fog lights to cube lights
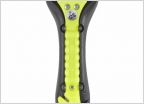 Whats the best auto escape hammer/seat belt cutter?
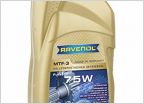 Changing front and rear diff oil and automatic tranny fluid.....
 Truck Bed Bolt keeps spinning help!
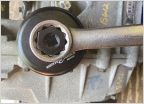 Couldn't getOil filter to come off
Front camera frustration!! What else do I need?
Discussion in '3rd Gen. Tacomas (2016-2023)' started by Arkie-Marty, Mar 7, 2017.
