

-
Welcome to Tacoma World!
You are currently viewing as a guest! To get full-access, you need to register for a FREE account.
As a registered member, you’ll be able to:- Participate in all Tacoma discussion topics
- Communicate privately with other Tacoma owners from around the world
- Post your own photos in our Members Gallery
- Access all special features of the site
 Noob needs help with lift
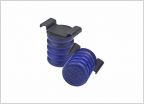 Fox Level 2 kit with or without OME Dakar Pack
 Firestone Ride-Rite Air Bag Install Question
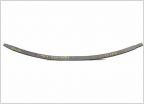 Your dakar leafs over time
 Help Identify Lift Height + Thoughts on Setup?
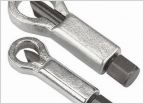 Gland Nut Removal
Write-up: 3rd Gen Bilstein 6112/5160 with 3-Leaf AAL for 1.5" lift
Discussion in 'Suspension' started by smitty99, Apr 15, 2017.
Page 1 of 18
Page 1 of 18


