-
Welcome to Tacoma World!
You are currently viewing as a guest! To get full-access, you need to register for a FREE account.
As a registered member, you’ll be able to:- Participate in all Tacoma discussion topics
- Communicate privately with other Tacoma owners from around the world
- Post your own photos in our Members Gallery
- Access all special features of the site
 Torque Pro Adapter
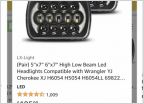 LED Headlights For Gen 1
 Feedback on a high mileage 1st gen
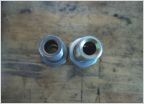 Banjo bolt (M12x1.25) pressure gauge adapter
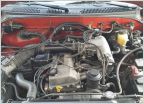 Chasing the 2200 rpm ping (2.7)
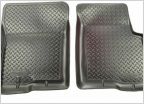 Found floor mats. dont knwo how to delete my thread
Sanding+primer vs. just primer
Discussion in '1st Gen. Tacomas (1995-2004)' started by Logans2001, Apr 1, 2018.
Page 1 of 2
Page 1 of 2