

-
Welcome to Tacoma World!
You are currently viewing as a guest! To get full-access, you need to register for a FREE account.
As a registered member, you’ll be able to:- Participate in all Tacoma discussion topics
- Communicate privately with other Tacoma owners from around the world
- Post your own photos in our Members Gallery
- Access all special features of the site
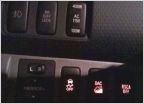 Unlit Switches
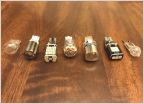 The 921 LED Reverse Light Bulb Study
 Rock lights ... which ones!?!?
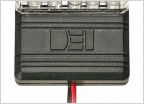 Tundra owner needs Tacoma help!
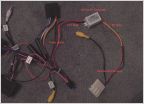 Tools and supplies needed for wiring.
Automotive Lighting 101
Discussion in 'Lighting' started by Too Stroked, Feb 16, 2018.
Page 1 of 3
Page 1 of 3
