

-
Welcome to Tacoma World!
You are currently viewing as a guest! To get full-access, you need to register for a FREE account.
As a registered member, you’ll be able to:- Participate in all Tacoma discussion topics
- Communicate privately with other Tacoma owners from around the world
- Post your own photos in our Members Gallery
- Access all special features of the site
 Kyitty's Humble Build Thread
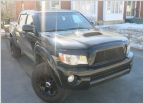 Canoehead's 2007 DCSB Sport 6MT build... for carrying canoes
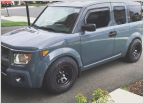 Great White Taco build
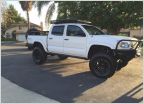 The Ginger King Build
 My 2008 Tacoma DC Off Road Build
 Wile's "The Coyote" Build (OCD edition)
MonkeyProof's Misadventures
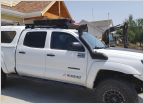
Discussion in '2nd Gen. Builds (2005-2015)' started by MonkeyProof, Dec 4, 2020.
Page 5 of 9
Page 5 of 9
Products Discussed in


