

-
Welcome to Tacoma World!
You are currently viewing as a guest! To get full-access, you need to register for a FREE account.
As a registered member, you’ll be able to:- Participate in all Tacoma discussion topics
- Communicate privately with other Tacoma owners from around the world
- Post your own photos in our Members Gallery
- Access all special features of the site
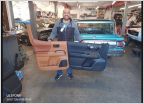 Arm rests
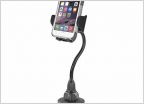 Low profile phone mount
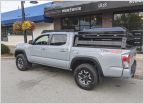 Bed rack and tent recommendations
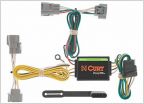 Any trailer light kits that don't require a wire run to the battery?
 3 inch level
 Tech Stream
What Have You Done To Your 3rd Gen Today?
Discussion in '3rd Gen. Tacomas (2016-2023)' started by hamiltonuh60, Nov 4, 2015.
Page 11160 of 14809
Page 11160 of 14809
Products Discussed in


