

-
Welcome to Tacoma World!
You are currently viewing as a guest! To get full-access, you need to register for a FREE account.
As a registered member, you’ll be able to:- Participate in all Tacoma discussion topics
- Communicate privately with other Tacoma owners from around the world
- Post your own photos in our Members Gallery
- Access all special features of the site
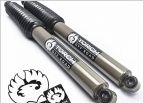 Generic shock experiment
 UCA Bolt cut and replace
 Icon RXT Leaf Pack SQEAKY!
 Using onboard air for air bags
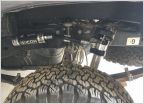 Icon Lower Stages
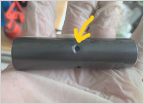 Greaseable Shackle Bolts
Icon AAL problems
Discussion in 'Suspension' started by hedman, Apr 16, 2011.
Page 2 of 8
Page 2 of 8


