

-
Welcome to Tacoma World!
You are currently viewing as a guest! To get full-access, you need to register for a FREE account.
As a registered member, you’ll be able to:- Participate in all Tacoma discussion topics
- Communicate privately with other Tacoma owners from around the world
- Post your own photos in our Members Gallery
- Access all special features of the site
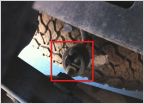 Removing tail pipe after Resonator, Help
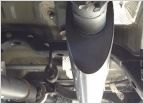 Upgraded exhaust
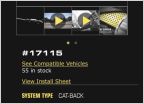 Which magnaflow muffler?
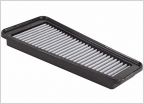 Where to buy AFE Pro Dry S filter?
 Thoughts on Royal Purple fuel cleaners..
PLX gauge install
Discussion in 'Performance and Tuning' started by jarhead0313, Nov 15, 2012.
Page 1 of 2
Page 1 of 2


