

-
Welcome to Tacoma World!
You are currently viewing as a guest! To get full-access, you need to register for a FREE account.
As a registered member, you’ll be able to:- Participate in all Tacoma discussion topics
- Communicate privately with other Tacoma owners from around the world
- Post your own photos in our Members Gallery
- Access all special features of the site
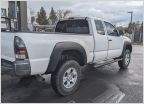 Just got a used 2007 Tacoma 4cyl, 5speed, 4x4 - How did I do? Here's what I have planned for it!
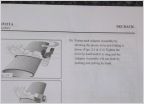 Problems with ski rack adapter
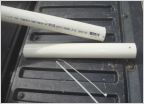 Getting spare down without special tool?
 Softopper 3rd brake light mod
 Looking for ideas... want to replace the TOYOTA in my pro grill
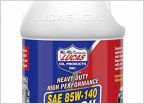 Gear oil question
Let's see your frugal DIY mods!
Discussion in '2nd Gen. Tacomas (2005-2015)' started by LUSETACO, Nov 24, 2013.
Page 25 of 121
Page 25 of 121
Products Discussed in


