

-
Welcome to Tacoma World!
You are currently viewing as a guest! To get full-access, you need to register for a FREE account.
As a registered member, you’ll be able to:- Participate in all Tacoma discussion topics
- Communicate privately with other Tacoma owners from around the world
- Post your own photos in our Members Gallery
- Access all special features of the site
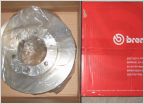 2005+ Brembo Rotor Blanks and Hawk Pads
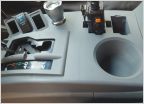 3d printed center console. Coming soon
 Sound System Upgrade
 Mirror backup camera in aftermarket headunit
 Quick oil filter question for 4.0L
2014 Auto Dimming Mirror - NEW
Discussion in '2nd Gen. Tacomas (2005-2015)' started by CoastieN70, Jan 21, 2015.


