

-
Welcome to Tacoma World!
You are currently viewing as a guest! To get full-access, you need to register for a FREE account.
As a registered member, you’ll be able to:- Participate in all Tacoma discussion topics
- Communicate privately with other Tacoma owners from around the world
- Post your own photos in our Members Gallery
- Access all special features of the site
Quick Links: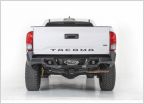 3rd gen rear bumper options.
 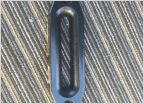 Anyone mounted a synthetic type fairlead to an arb bumper? What the eff is the protocol?
 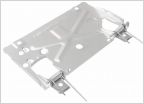 License plate flip mount for hidden hitch receiver
 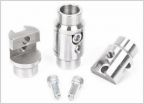 Chromolly vs mild steel - Interlocking Tube Clamps
  Help me find a bumper
  Looking for part numbers on Pelfreybilt bumper
DIY Bolt-On Frame Plates for Sliders
Discussion in 'Armor' started by 1 Bored Clerk, Nov 9, 2013.
Page 14 of 31
Page 14 of 31

