

-
Welcome to Tacoma World!
You are currently viewing as a guest! To get full-access, you need to register for a FREE account.
As a registered member, you’ll be able to:- Participate in all Tacoma discussion topics
- Communicate privately with other Tacoma owners from around the world
- Post your own photos in our Members Gallery
- Access all special features of the site
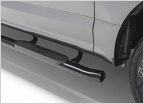 Anyone bought Aries S222009?
 Bad cargo net differences
 Tailgate Letters
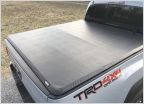 Gator ETX Soft Tri-Fold Truck Bed Tonneau Cover
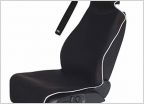 Temporary Seat protection
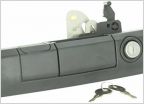 PoP & Lock
Timbren Industries Bump Stop Install **PIC HEAVY**
Discussion in 'Product Reviews' started by Danactive, Oct 7, 2016.
Page 1 of 2
Page 1 of 2
