

-
Welcome to Tacoma World!
You are currently viewing as a guest! To get full-access, you need to register for a FREE account.
As a registered member, you’ll be able to:- Participate in all Tacoma discussion topics
- Communicate privately with other Tacoma owners from around the world
- Post your own photos in our Members Gallery
- Access all special features of the site
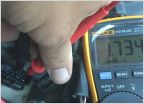 Air flow meter replace for a P0171
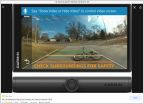 Anyone install a Garmin GPS 55 with wireless backup camera BC-40?
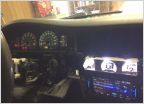 97 tacoma stereo upgrade help
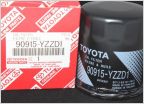 Toyota oil filter
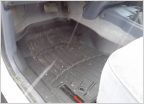 Best place (price) to buy weathertech style floormats
 Trim Piece
2.4 (2rzfe) Auto trans cooler install, cheap and easy! UNDER $40!!!
Discussion in '1st Gen. Tacomas (1995-2004)' started by Machine Whisperer, May 18, 2017.


