

-
Welcome to Tacoma World!
You are currently viewing as a guest! To get full-access, you need to register for a FREE account.
As a registered member, you’ll be able to:- Participate in all Tacoma discussion topics
- Communicate privately with other Tacoma owners from around the world
- Post your own photos in our Members Gallery
- Access all special features of the site
 Bulb Size of the fog light (2009)
 What do you guys think of this LED light bar?
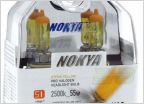
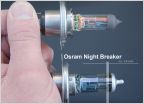 Best Headlight Replacement Bulb?
 Need help with bed light installation
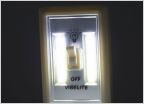 Easiest/cheapest solution to interior lights/topper lights (battery operated COB LEDs)
 No drill roof mount???
Modifying wiring harnesses
Discussion in 'Lighting' started by Jack0928, Jun 19, 2017.
Page 3 of 3
Page 3 of 3


