

-
Welcome to Tacoma World!
You are currently viewing as a guest! To get full-access, you need to register for a FREE account.
As a registered member, you’ll be able to:- Participate in all Tacoma discussion topics
- Communicate privately with other Tacoma owners from around the world
- Post your own photos in our Members Gallery
- Access all special features of the site
 95 4x4 transmission mount part #
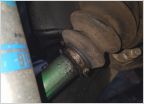 Can you actually protect rubber CV boots?
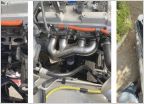 Full exhaust replacement
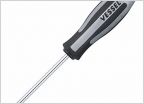 Can't remove rear tail light lens due to frozen/stripped screws on 1996
 Stripped Thermostat Housing Nut
 Any suggestions on getting these JIS screws out?
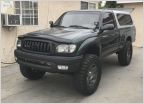
Pads and Rotors on a 4x4 1st gen
Discussion in '1st Gen. Tacomas (1995-2004)' started by leprechaun, Sep 17, 2017.


